PRODUCTS
Location:Home > PRODUCTS > Coating Measurement Meters > Coating thickness Gages series > Mechanical Wet Film Thickness Gauge 234
Mechanical Wet Film Thickness Gauge 234
·Film measurement is an important method for using and testing pain and coating. Dry film is a determinate factor on judging appearance, protective performance and persistence.
·Thin dry film can not provide enough protection but reduce the covering properties. So it must assure the consistency of these values by executing with the minimum thickness according to Technical Specification.
·On the other hand, over painting will lead to a thick coating and in consequence the cost increases. Moreover, a thick coating doesn’t always mean a good performance. It might be a negative effect at drying time.
·Physical and mechanical performance of the coating is determined by thickness of dry film. Executing a meaningful test needs a well-proportioned dry film. Wet film thickness gauge is available to test paint which just brushed and calculate the thickness value of dry film. If there is different between measurement and indicated value, it needs to be corrected immediately. Dry film thickness gauge is used for measuring thickness of final coating.
A series advantages of mechanical thickness gauge:
·Portable and easy-operation convenient for nontechnical people; Rugged structure, direct reading ;
·Test runs at any surface. The whole mechanical design is applicable to glass, wood, metal and plastic material.
·Compare to other thickness gauge, mechanical one offers a more competitive price.
Measurement Principle
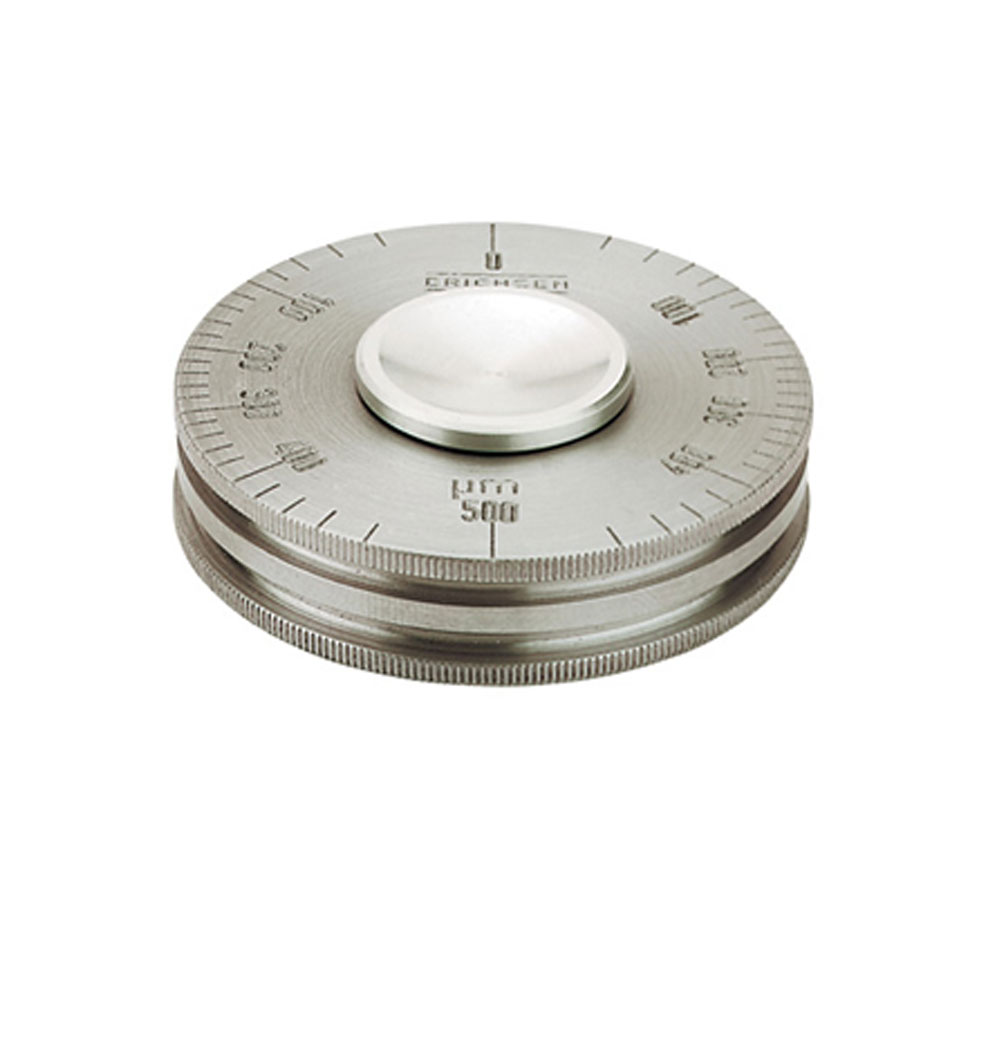
·Roll the disk shaped gauge ( Pic 1) on wet film. The middle wheel rim (1) in two knurls rolls over the material, the eccentric cam (2) gets paint when the distant of the rim to the cam is equal to the thickness of wet film.
Design and Function
·The hardening and precise stainless gauge is 50mm wide and 11mm thick which includes an aluminum wheel that makes the meter rotates inside.
·Totally 8 models and measure ranges (see order information).
Measure Process
·Measure 1
·Pinch the guide wheel with thumb and forefinger and put the gauge on the surface and make sure the touch point is opposite zero line. Press and roll it lightly toward zero line and lift it up.
·Measure 2(verify)
·Put the gauge on the position 1, and rotate it to the opposite direction of zero line.
·Thickness value can be read at where wet film is indicated and compare it with the opposite side to have the average value.
|
NO. |
Model |
Measure range |
Reading Precision |
|
0071.01.31 |
234 R/I |
0~25 μm |
1 μm |
|
0071.02.31 |
234 R/II |
0~50 μm |
2 μm |
|
0071.03.31 |
234 R/III |
0~125 μm |
5 μm |
|
0071.04.31 |
234 R/IV |
0~250 μm |
10 μm |
|
0071.05.31 |
234 R/V |
0~500 μm |
20 μm |
|
0071.06.31 |
234 R/VI |
500~1000 μm |
20 μm |
|
0071.07.31 |
234 R/VII |
0~1000 μm |
50 μm |
|
0071.08.31 |
234 R/VIII |
0~1500 μm |
50 μm |


